
Effects change what's already painted on a layer: blur it, sharpen it, add noise, adjust tone and color, distort or stylize it. Effects are free and available in Basic mode.
Apply an effect
- In the layers panel, select the layer you want to change.
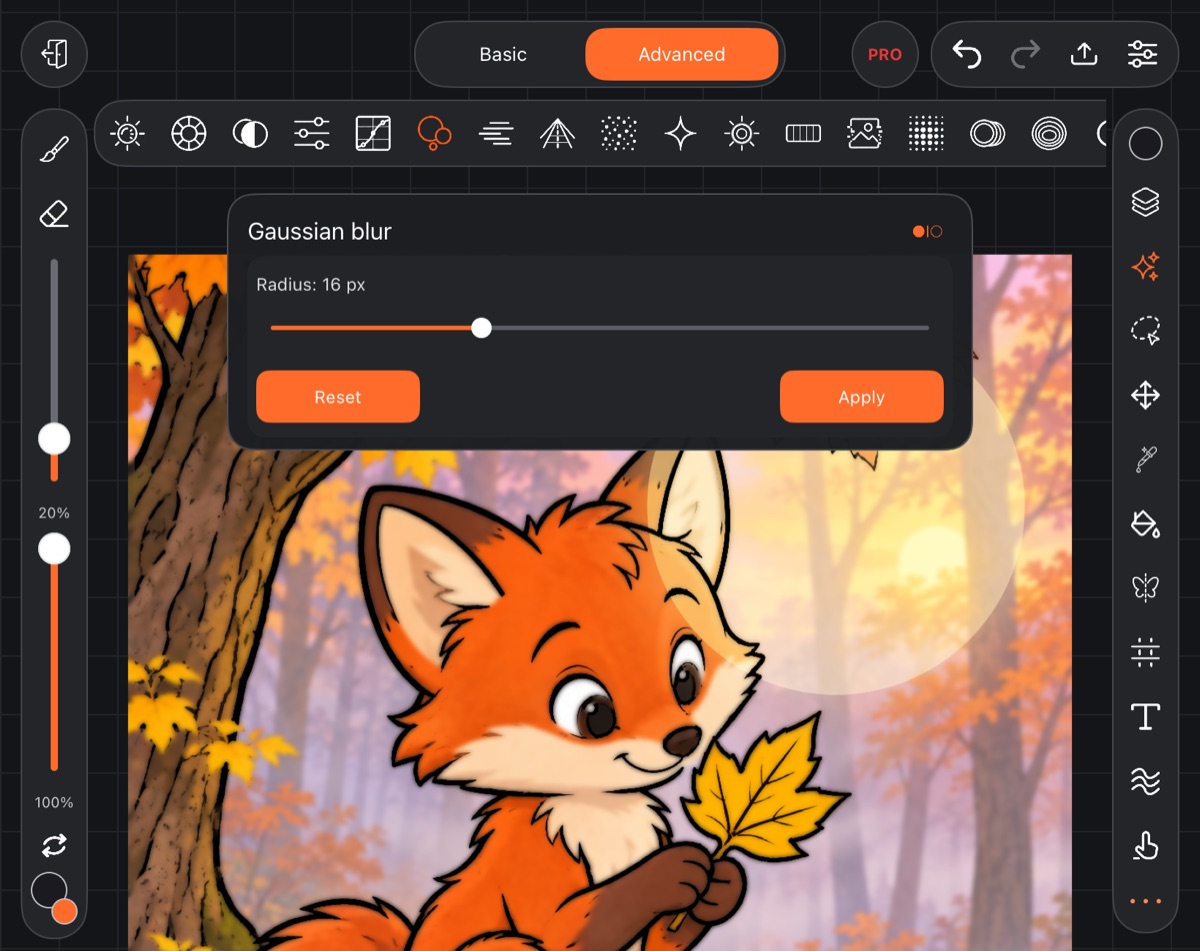
- Tap Effects on the right bar. A strip of icons appears – one per effect.
- Tap an icon to open that effect's window. The change shows on the canvas right away.
- Move the sliders.
- Tap Apply – the effect is written into the layer as one step.
With a selection on the canvas, the effect stays inside it. If the layer has transparency lock on, the effect changes the color of what's painted but not its transparency.
The effect window
- Reset – put the sliders back where they started.
- Apply – write the effect into the layer.
- The Before/After button next to the title: hold it to see the layer without the effect, let go to see it again.
- Tapping the same icon again closes the window without changes.
On a phone the effect window sits above the icon strip, and the strip scrolls sideways – the › arrow on the right means there are more effects.
Fast preview
While you drag a slider, the effect is calculated at reduced size so the picture keeps up with your finger even on a large canvas – it may look a little soft. When you let go, the effect is recalculated at full quality. Heavy effects finish in bands, so wait until the image is sharp. The layer always gets the full-quality result.
Available effects
The effect's name is shown in the window title.
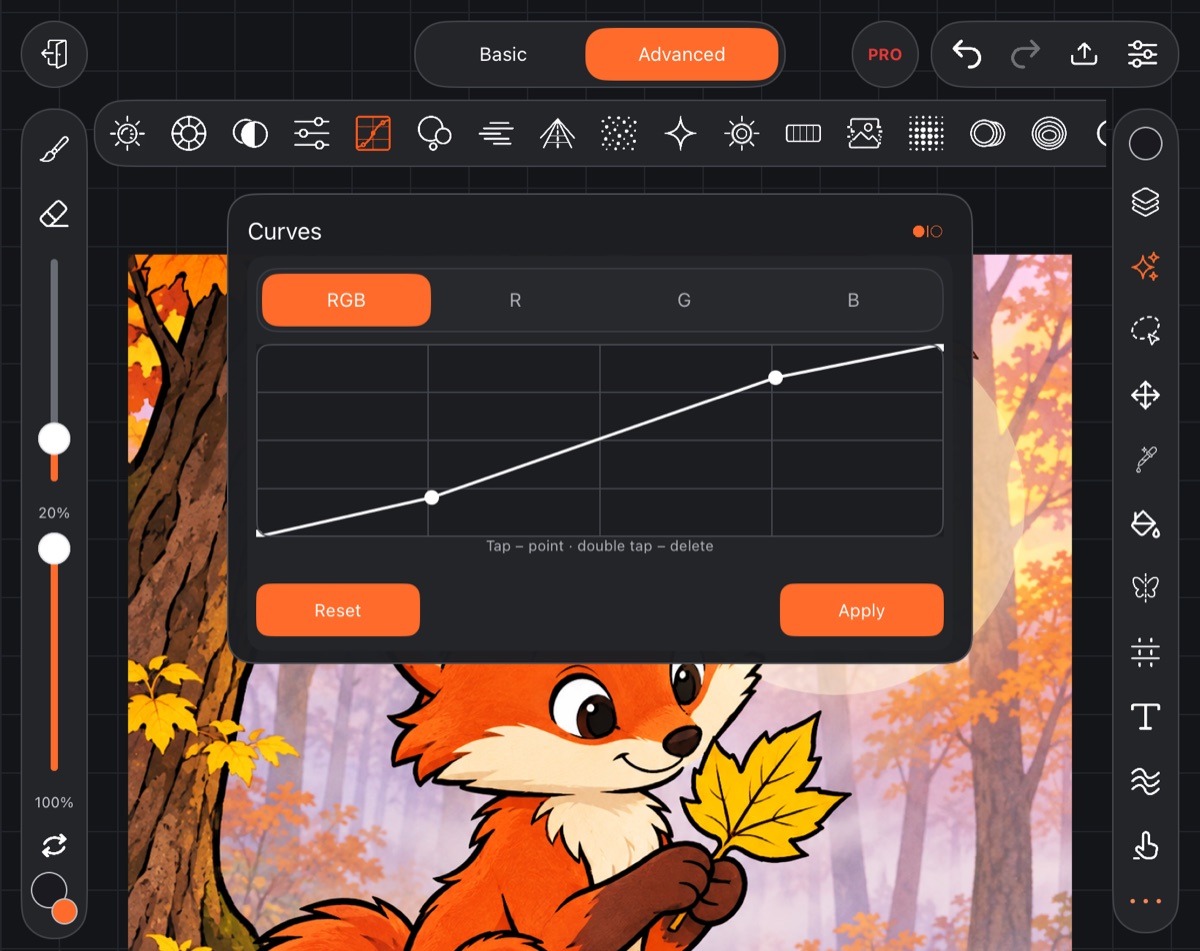
- Tone and color: Light and color (brightness, contrast, saturation), Hue, Invert, Color balance (separately for shadows, midtones and highlights), Curves (master and per channel R, G, B; tap to add a point, double-tap to delete), Gradient map (ten ready-made gradients).
- Blur and sharpness: Gaussian blur, Motion blur, Perspective blur, Spin blur, Zoom blur, Sharpen, High pass.
- Grain and light: Noise (grey or color, everywhere or in midtones; Shuffle changes the grain pattern), Glow, Vignette.
- For line art, scans and flat colors: Black and white (six sliders for how light each color becomes, plus Tint), Threshold (white or transparent background), Posterize, Equalize, Solarize.
- Stylize: Glitch, Halftone, Chromatic aberration, Mosaic, Emboss (grey or in color), Crystallize, Wrap offset.
- Distort – one window with tabs Ripple, Wave, Twirl and Polar.
- Artistic – one window with tabs Sketch (can use a transparent background) and Comic.
Center and direction – with a circle on the canvas
For motion blur, perspective blur, spin blur and zoom blur, the center is a circle on the canvas: drag it where you want. For motion blur the circle also has a handle – turn it to set the direction.
When an effect won't open
- A group is selected – you'll see “Effects don't apply to a group”. Select a layer inside the group.
- The layer is hidden or locked – you'll see “This effect can't be applied to this layer”.
- A text or vector layer is selected – rasterize it from the layer menu first.
- Several layers are checked – effects work on one layer at a time.