
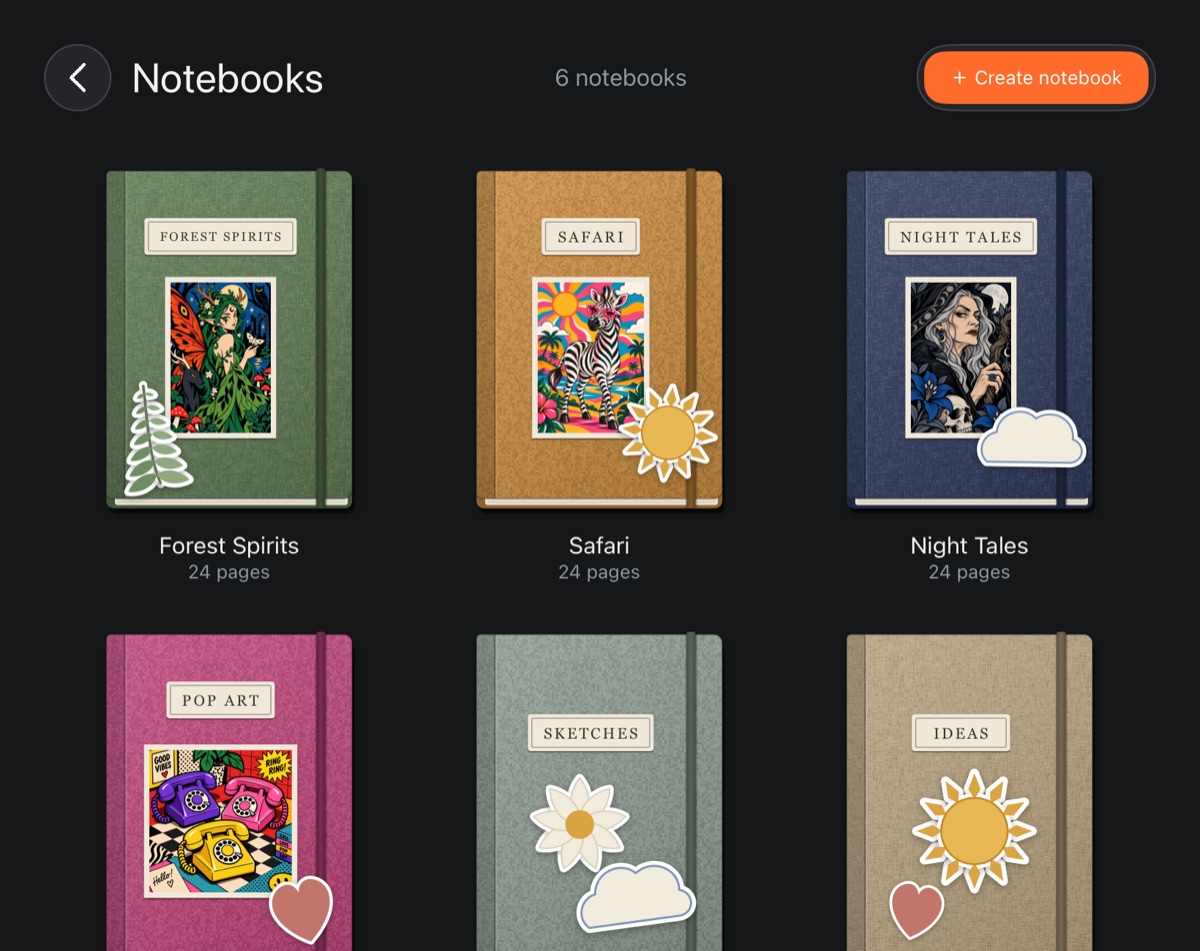
A notebook is a sketchbook where you collect your artwork: one piece per page, with a caption and a date. You turn the pages with a finger or the pen, dress the cover in fabric or paper, and put stickers on pages and the cover. The picture on a page is always current: change the artwork and the notebook shows the new version.
Find and create a notebook
- Use the Notebooks banner at the top of the gallery, or the Tools tab → Notebooks. You can hide or show the banner in the gallery Settings with the Notebooks switch.
- Tap + Create notebook – “Notebook 1” (2, 3…) appears and opens right away.
- Hold a notebook in the list to Rename or Delete it. Deleting it leaves the artwork from its pages in the gallery.
Turning pages
- Drag the corner of a page with a finger or the pen – it follows you. Let go after about two thirds of the way, or flick, and the page turns; otherwise it falls back.
- At the bottom are the ‹ and › arrows and the page number, such as “4–5 / 24”.
- On a tablet in landscape you see a two-page spread, in portrait a single page. On a phone you see one page.
- Pinch with two fingers to close the notebook.
Artwork on pages
- Tap an empty page.
- In “Artwork for page N”, pick an artwork. Folders open with a tap, just like in the gallery.
To use a photo instead, tap From device photos (on a phone, From phone photos) in the same window.
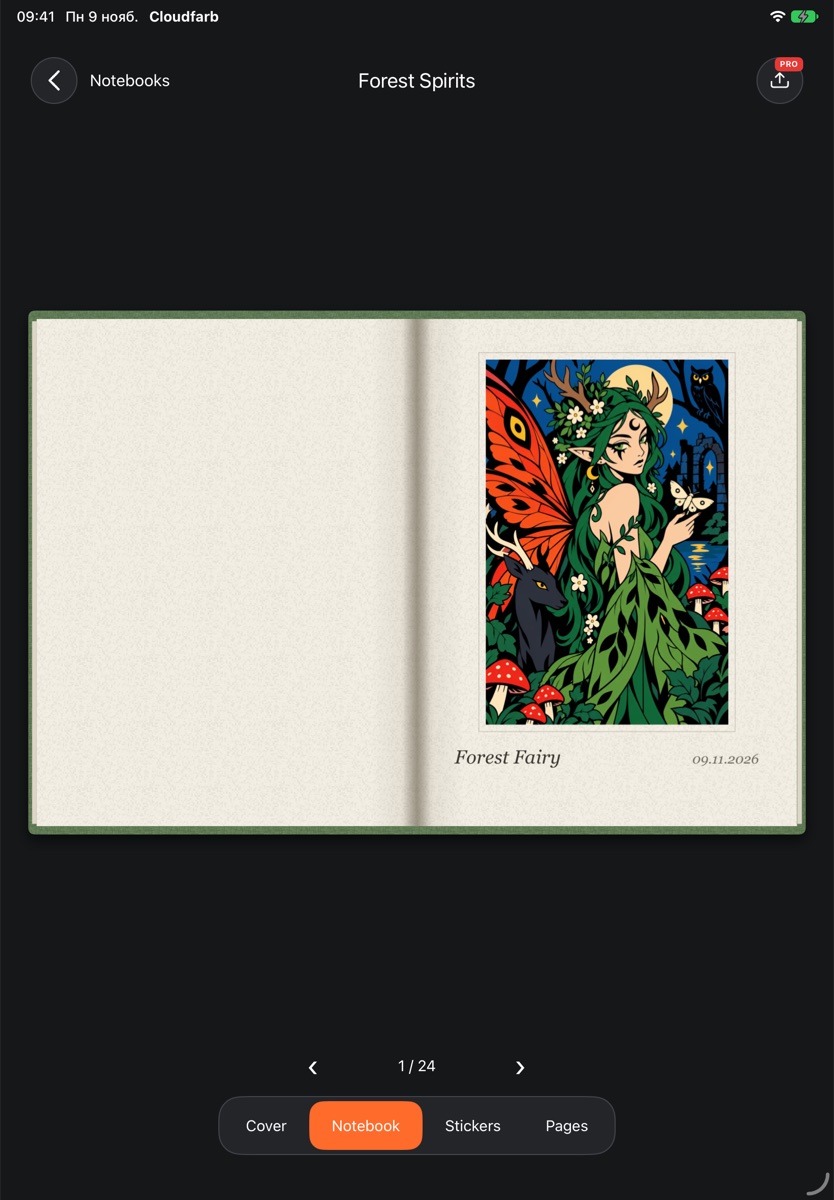
Tap a page with a picture for its menu:
- Replace artwork (or Replace image for a photo);
- Adjust image – a frame with handles, then Done;
- Fill the page or In a frame – the picture covers the whole page with no caption, or sits in a frame with its caption;
- Edit caption – the caption is the artwork's title and date; leave it empty to use the artwork title;
- Hide caption / Show caption;
- Remove artwork from page.
Tabs at the bottom
- Cover – design the cover (see below).
- Notebook – just turn the pages.
- Stickers – stickers for the visible page.
- Pages – all pages in a strip or a grid. + Page adds a page at the end. Tap a page to go to it; hold it for Add page after, Move earlier, Move later, Move to another notebook, Delete page. A notebook always keeps at least one page.
The cover
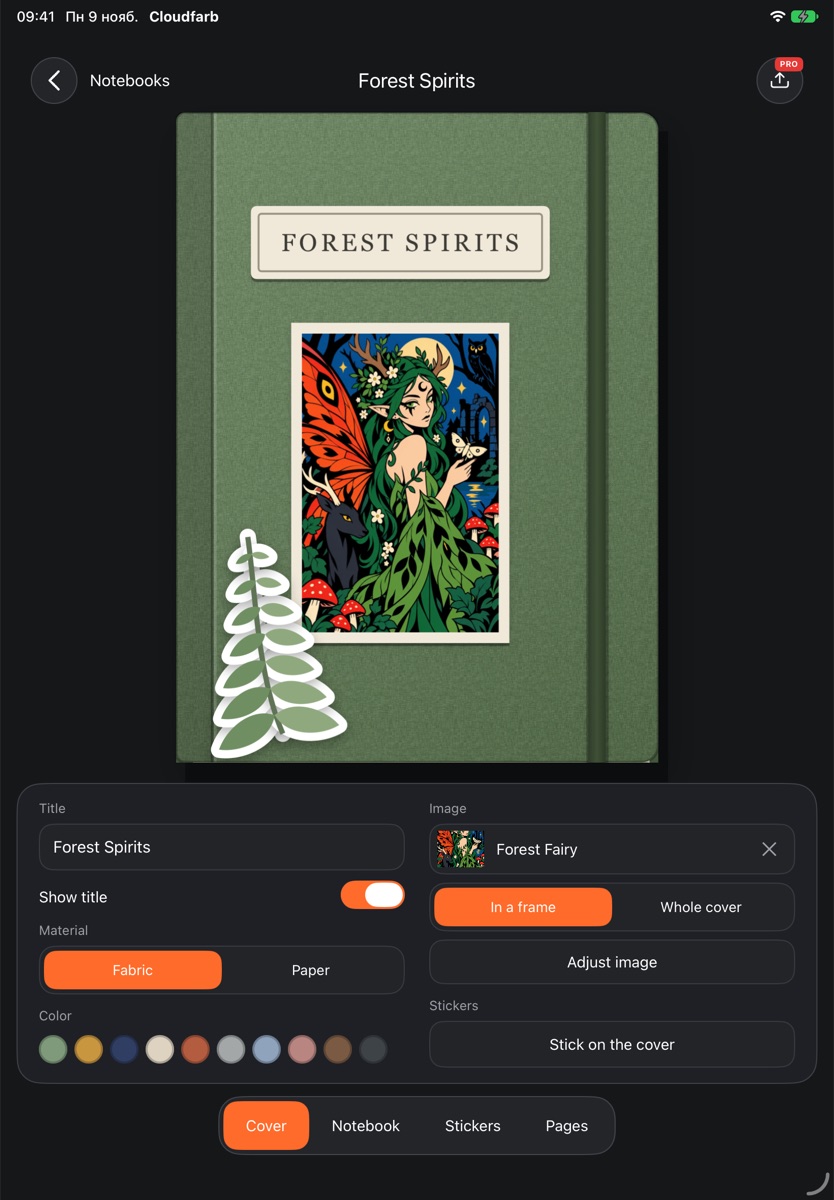
In the Cover tab the notebook closes and a panel opens next to it:
- Title and the Show title switch;
- Material – Fabric or Paper;
- Color of the cover;
- Image – an artwork or a photo for the cover, In a frame or Whole cover, plus Adjust image; the cross removes it;
- Stickers – Stick on the cover.
Every change is saved right away.
Stickers
In the Stickers tab choose a set – Plants, Sky, Misc, Food, Animals, Party, Stationery – and tap a sticker: it appears on the visible page.
- Drag a sticker to move it. Use two fingers to rotate and resize it.
- Under the selected sticker are buttons to rotate it, copy it and remove it.
- On a spread you can drag a sticker over to the other page.
- Mine holds your own PNG pictures: tap + Add PNG.
Stickers bend with the page as you turn it.
Print-ready book
The Print-ready book button in the notebook header builds a PDF from it: For the printer – block and cover or E-book – PDF for sale. You choose the size (A4, A5, Square 8.5 × 8.5″, Letter), one- or two-sided printing and the extra pages.
Notebooks travel with a library backup and with the cloud – see Cloud.