
The Fill tool fills a closed area with the brush color – just tap the canvas.
Filling an area
- Pick a color in the palette.
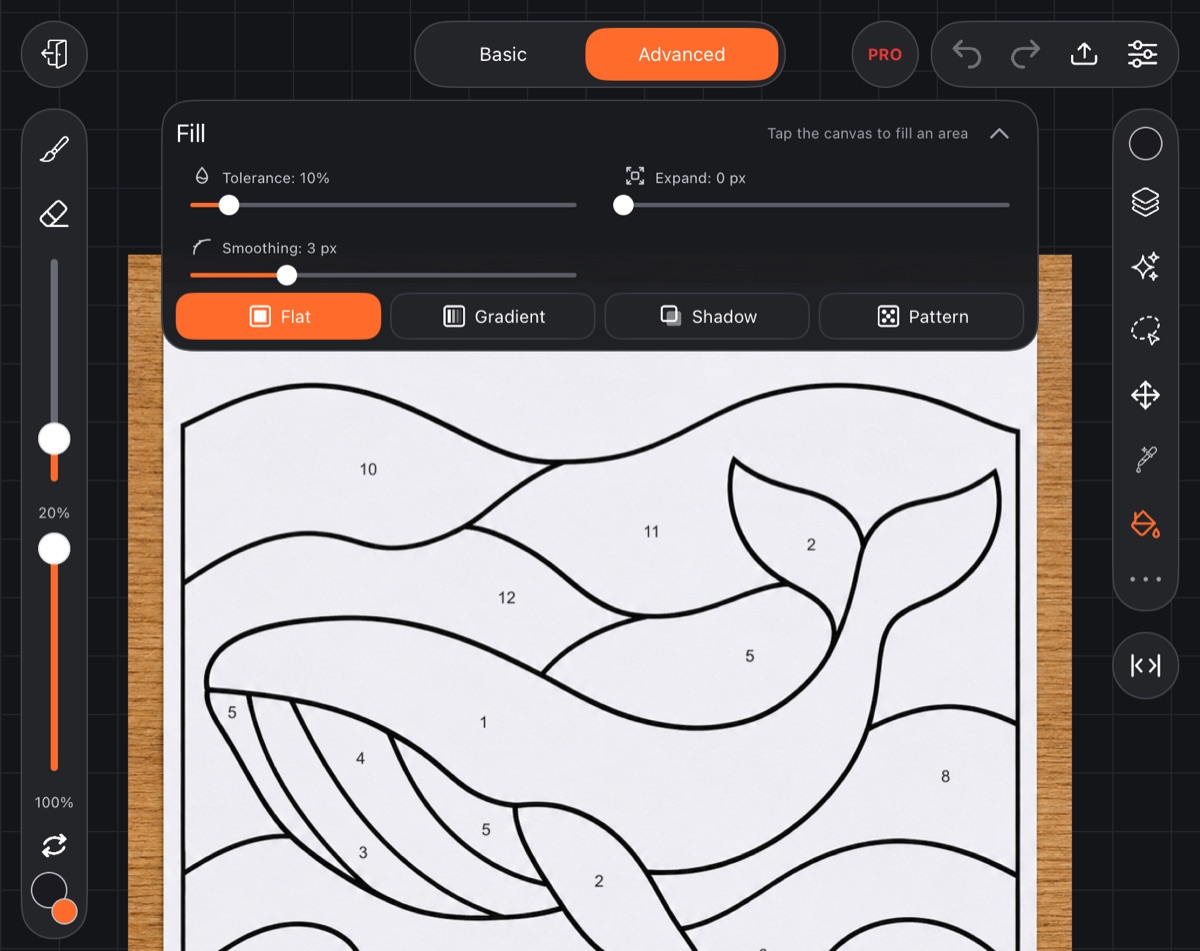
- Tap Fill on the right toolbar. The Fill panel opens.
- Tap the canvas inside the area you want to fill.
While the tool is on, every tap on the canvas is a new fill. To go back to drawing, tap the Fill button again or pick the brush.
Fill looks at the active layer
Fill finds the edges of an area only from the drawing on the active layer – the one you're painting on. It doesn't see lines on other layers. If the outline is on one layer and you fill on another, empty one, the whole layer gets filled.
You can't fill a hidden or locked layer or a group. Text and vector layers can't be filled either until you rasterize them. More about layers in Layer basics.
Settings
The panel doesn't fill anything by itself – it sets how the next tap fills. The values are remembered.
- Tolerance – how different a color can be from the one under your finger and still count as the same area. Low – the fill stops at the slightest change in shade; high – it leaks through faint edges. Default: 10%.
- Expand – how many pixels the fill reaches past the edge it found, from 0 to 16. Use it when a light fringe remains between the fill and a soft line. Default: 0.
- Smoothing – smooths the edge of the fill, from 0 to 12 pixels. Useful on low-quality pictures where the edge would otherwise look stair-stepped. Default: 3.
Fill style
Below the sliders there are four styles:
- Flat – a solid color.
- Gradient – from the brush color at the point you tapped to a lighter shade at the far edge of the area.
- Shadow – light from the top left: along the bottom and right edges of the area, the color softly darkens.
- Pattern – a pattern in the brush color over a lighter shade of the same color. A choice of patterns appears below: Stripes, Check, Dots, Zigzag.
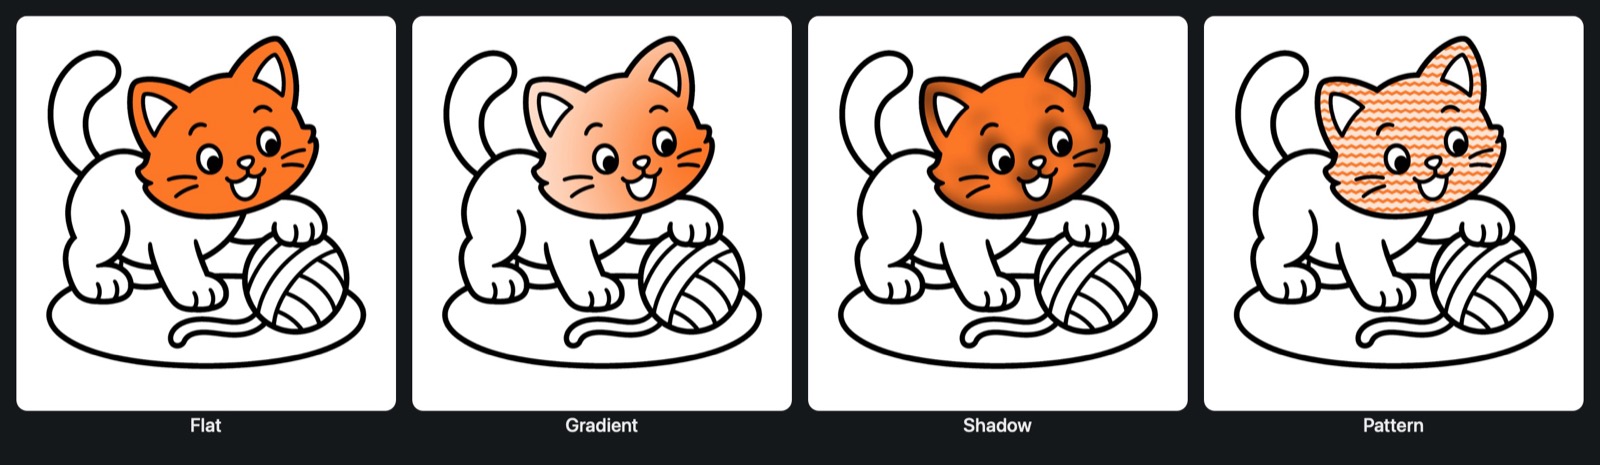
The fill style also applies to drop fill.
Undo
Each fill is a single step: if you don't like the result, undo it, adjust tolerance or expand, and fill again.