
Brushes live in a library, sorted onto shelves. Size and opacity are set with sliders next to the canvas, without opening the library.
Opening the brush library
- Tap Brush on the left toolbar – the brush becomes your current tool.
- Tap Brush again – the Brushes window opens.
- Pick a shelf on the left and tap a brush card.
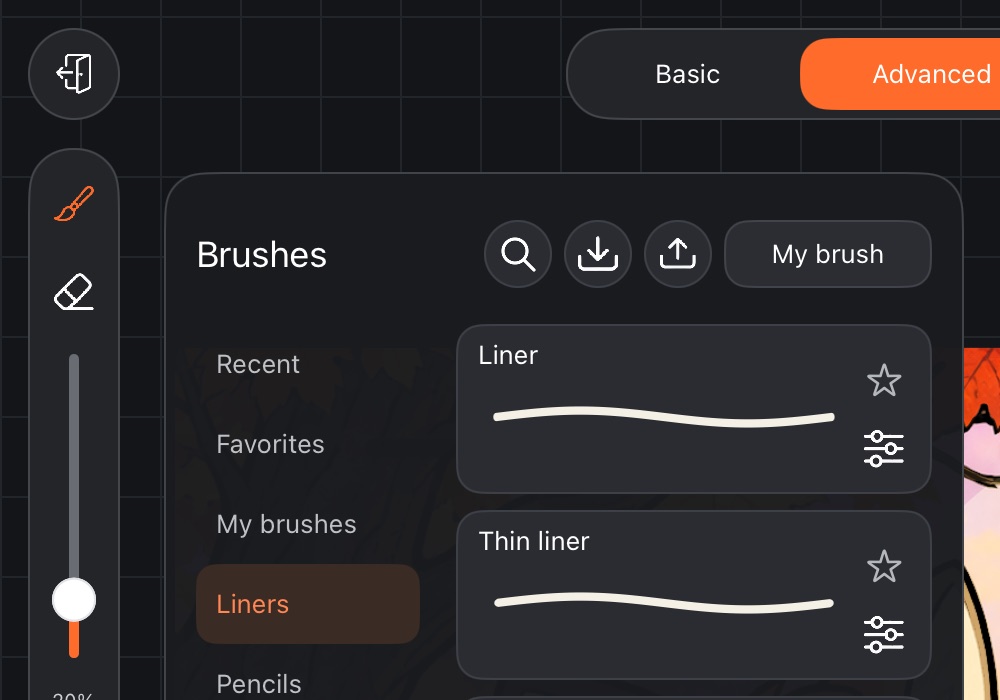
Each card shows the brush name and a sample stroke. The selected brush has an outline.
Size and opacity
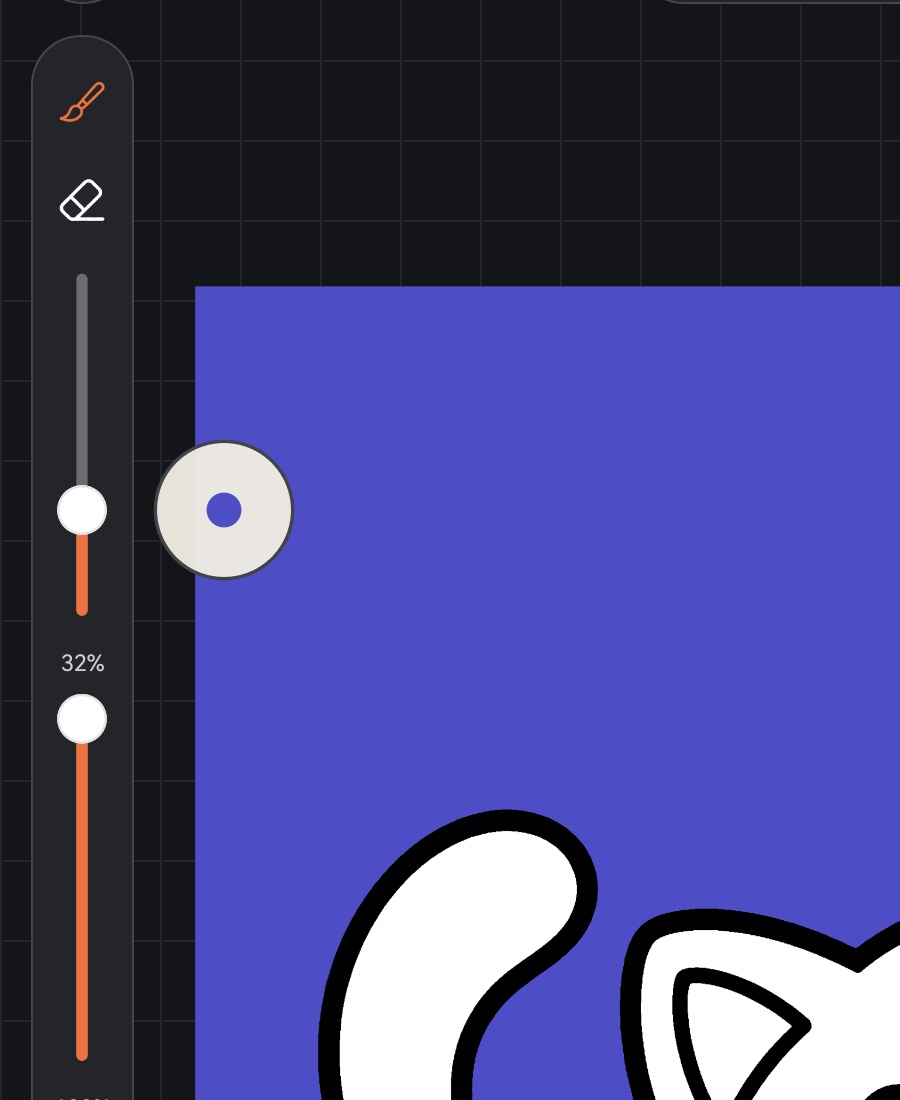
On the side toolbar, below the brush and eraser buttons, there are two sliders:
- top – size, from 1 to 100%;
- bottom – opacity, from 0 to 100%.
While you drag the size slider, a small box with a dot appears next to it – that's how thick the stroke will be on screen at the current zoom.
Size is remembered for each brush: if you drew with a liner at 40%, the liner is at 40% next time too. A brush you haven't drawn with yet starts at 20%. Brushes from imported sets start at their own size.
Shelves
- Recent – brushes you've drawn with. A brush lands here after a stroke on the canvas, not when you merely select it.
- Favorites – brushes marked with a star.
- My brushes – your own brushes and single imported ones.
- Your own shelves and shelves of imported sets.
- Built-in: Liners, Pencils, Markers, Watercolor, Painting, Ink, Blending, Airbrushes, Textures, Stamps, Oil, Impasto, Oil, runs out (these brushes run out of paint like a real brush).
Search
Tap Search (the magnifier in the header) and type part of a name – cards from all shelves are matched at once. Tap it again to close the search.
Favorites
Tap ☆ on a card and the brush appears on the Favorites shelf; the star turns orange. Tap again to remove it.
Reordering brushes
Hold a card until it lifts, then drag it to a new spot. Each shelf keeps its own order. You can't reorder while searching.
Brush menu
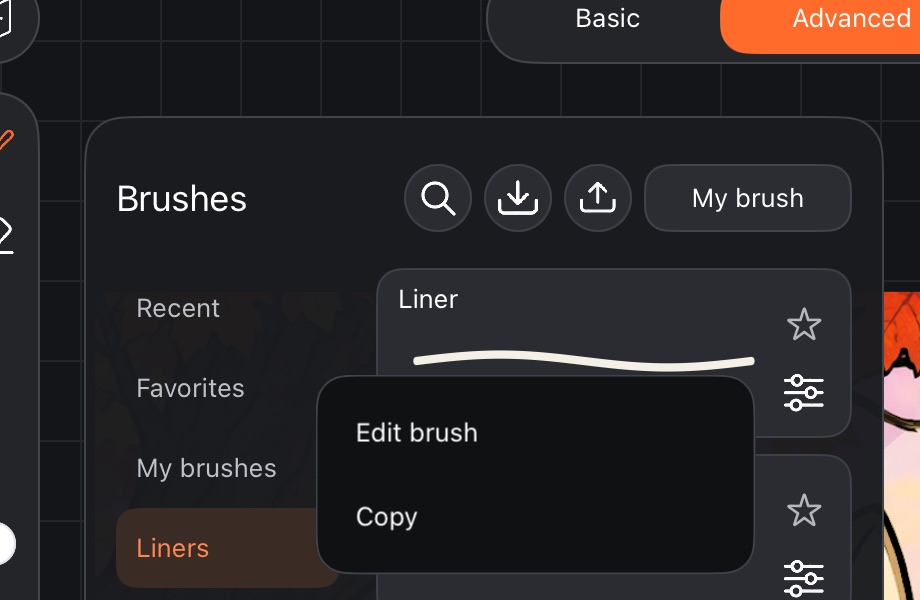
The gear icon on a card opens a menu:
- Edit brush – brush settings, see Brush settings;
- Rename – your own brushes only;
- Copy – the copy goes to your brushes; a copy of a built-in brush is yours to change freely;
- Move to – move your brush to another shelf;
- Delete – your own brushes only.
Built-in brushes can't be renamed or deleted.
Your own shelves
- Tap + in the bottom-left corner of the shelf column.
- Type a name and confirm.
Hold the name of your shelf to open its menu: Rename, Copy, Delete. Deleting a shelf deletes all brushes on it too – this can't be undone, and the app warns you first.
Each artwork remembers its brush
Every artwork remembers what you drew with: brush, size, opacity and color. Open it again and carry on where you left off. A new artwork starts with the Technical pen.
Making your own brush, importing and exporting are covered in Brush settings and Importing brushes. The eraser and smudge brushes are chosen separately – see Eraser and smudge.